


Oil Painting for Beginners
Cleaning your brushes and palette might not feel like the most exciting part of oil painting but it’s one of the most important habits you can build as an artist.
Taking care of your tools helps your brushes last longer, keeps your colors clean, and makes your future paintings much easier and more enjoyable.
In this chapter, you’ll learn safe and effective methods for cleaning your oil painting brushes, how to remove dried paint, and how to properly clean your palette so your workspace stays ready for your next painting session.
Cleaning Your Brushes 101
Proper brush care is essential if you want your brushes to last and perform well.
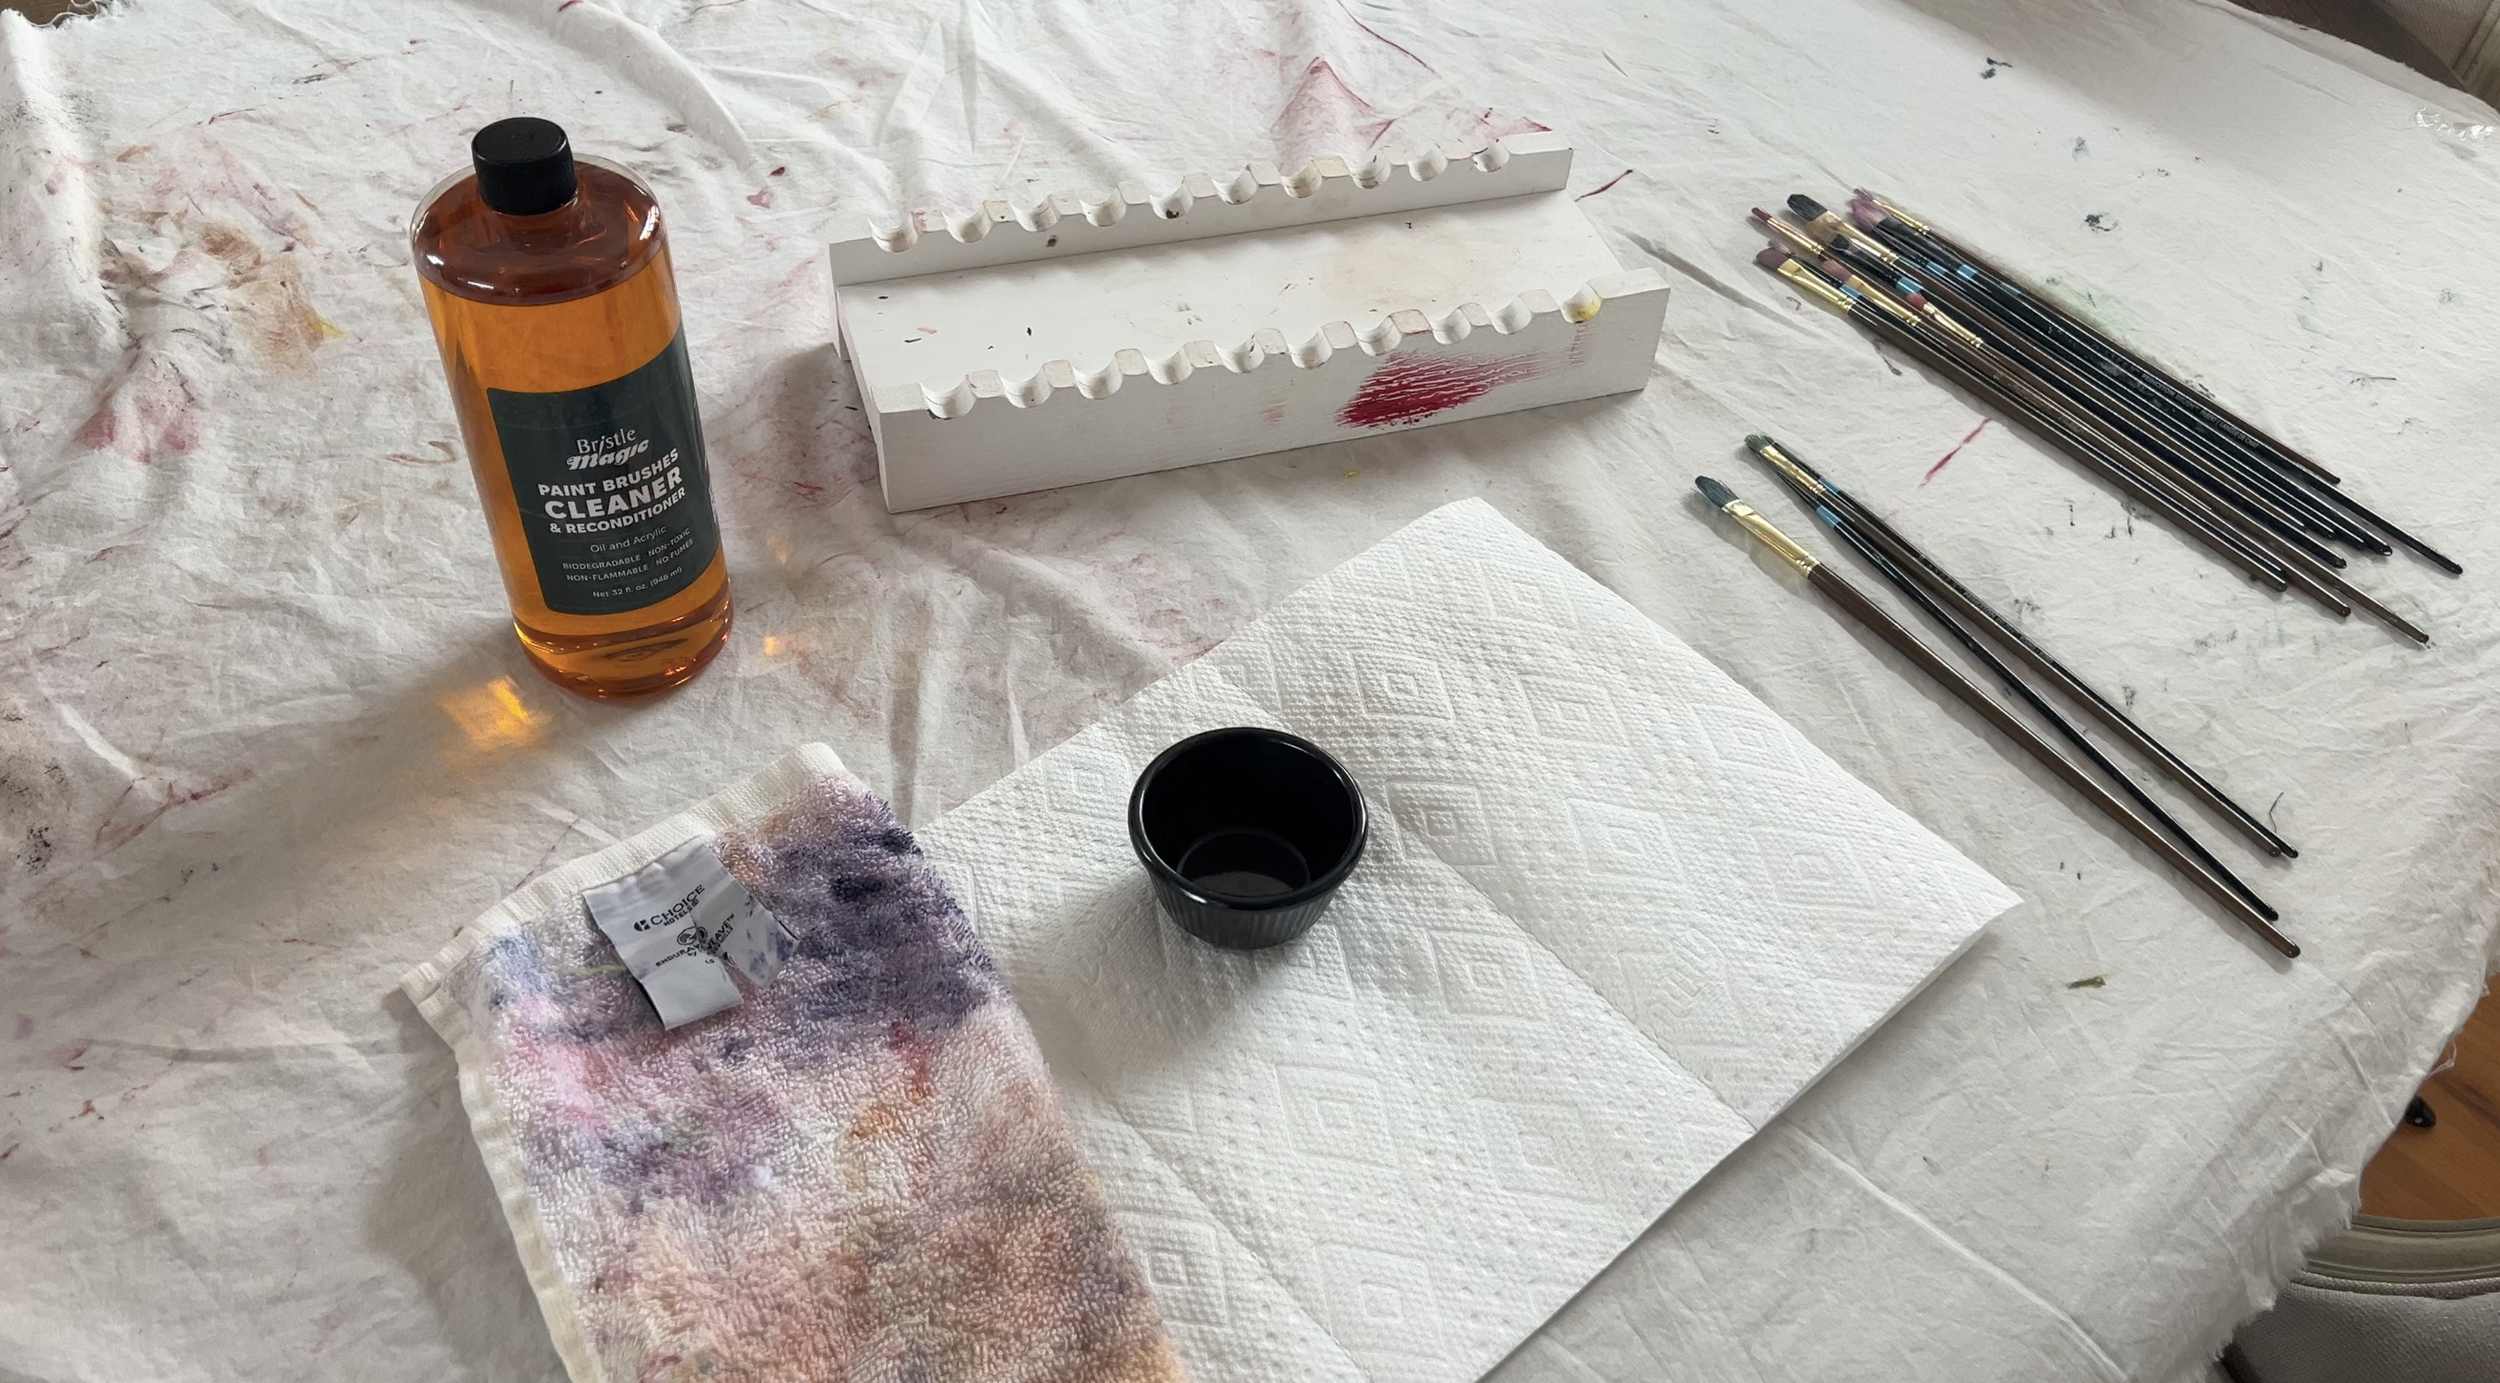
My personal favorite cleaner is Bristle Magic Brush Cleaner. I like using it because it’s affordable, non-toxic, produces no strong fumes, and is much easier to use indoors compared to traditional paint thinner.
**You can also use odorless paint thinner stored in a leak-proof jar to remove oil paint from your brushes.
💡 Safety first: If you choose to use paint thinner, always work in a well-ventilated area or outdoors to avoid inhaling fumes.
Step 1:
To start, pour your brush cleaner into a dedicated container. I’m using an old bowl, but any container works as long as it’s only used for cleaning brushes.
You never want to reuse this container for food because it will contain paint residue and cleaning chemicals.
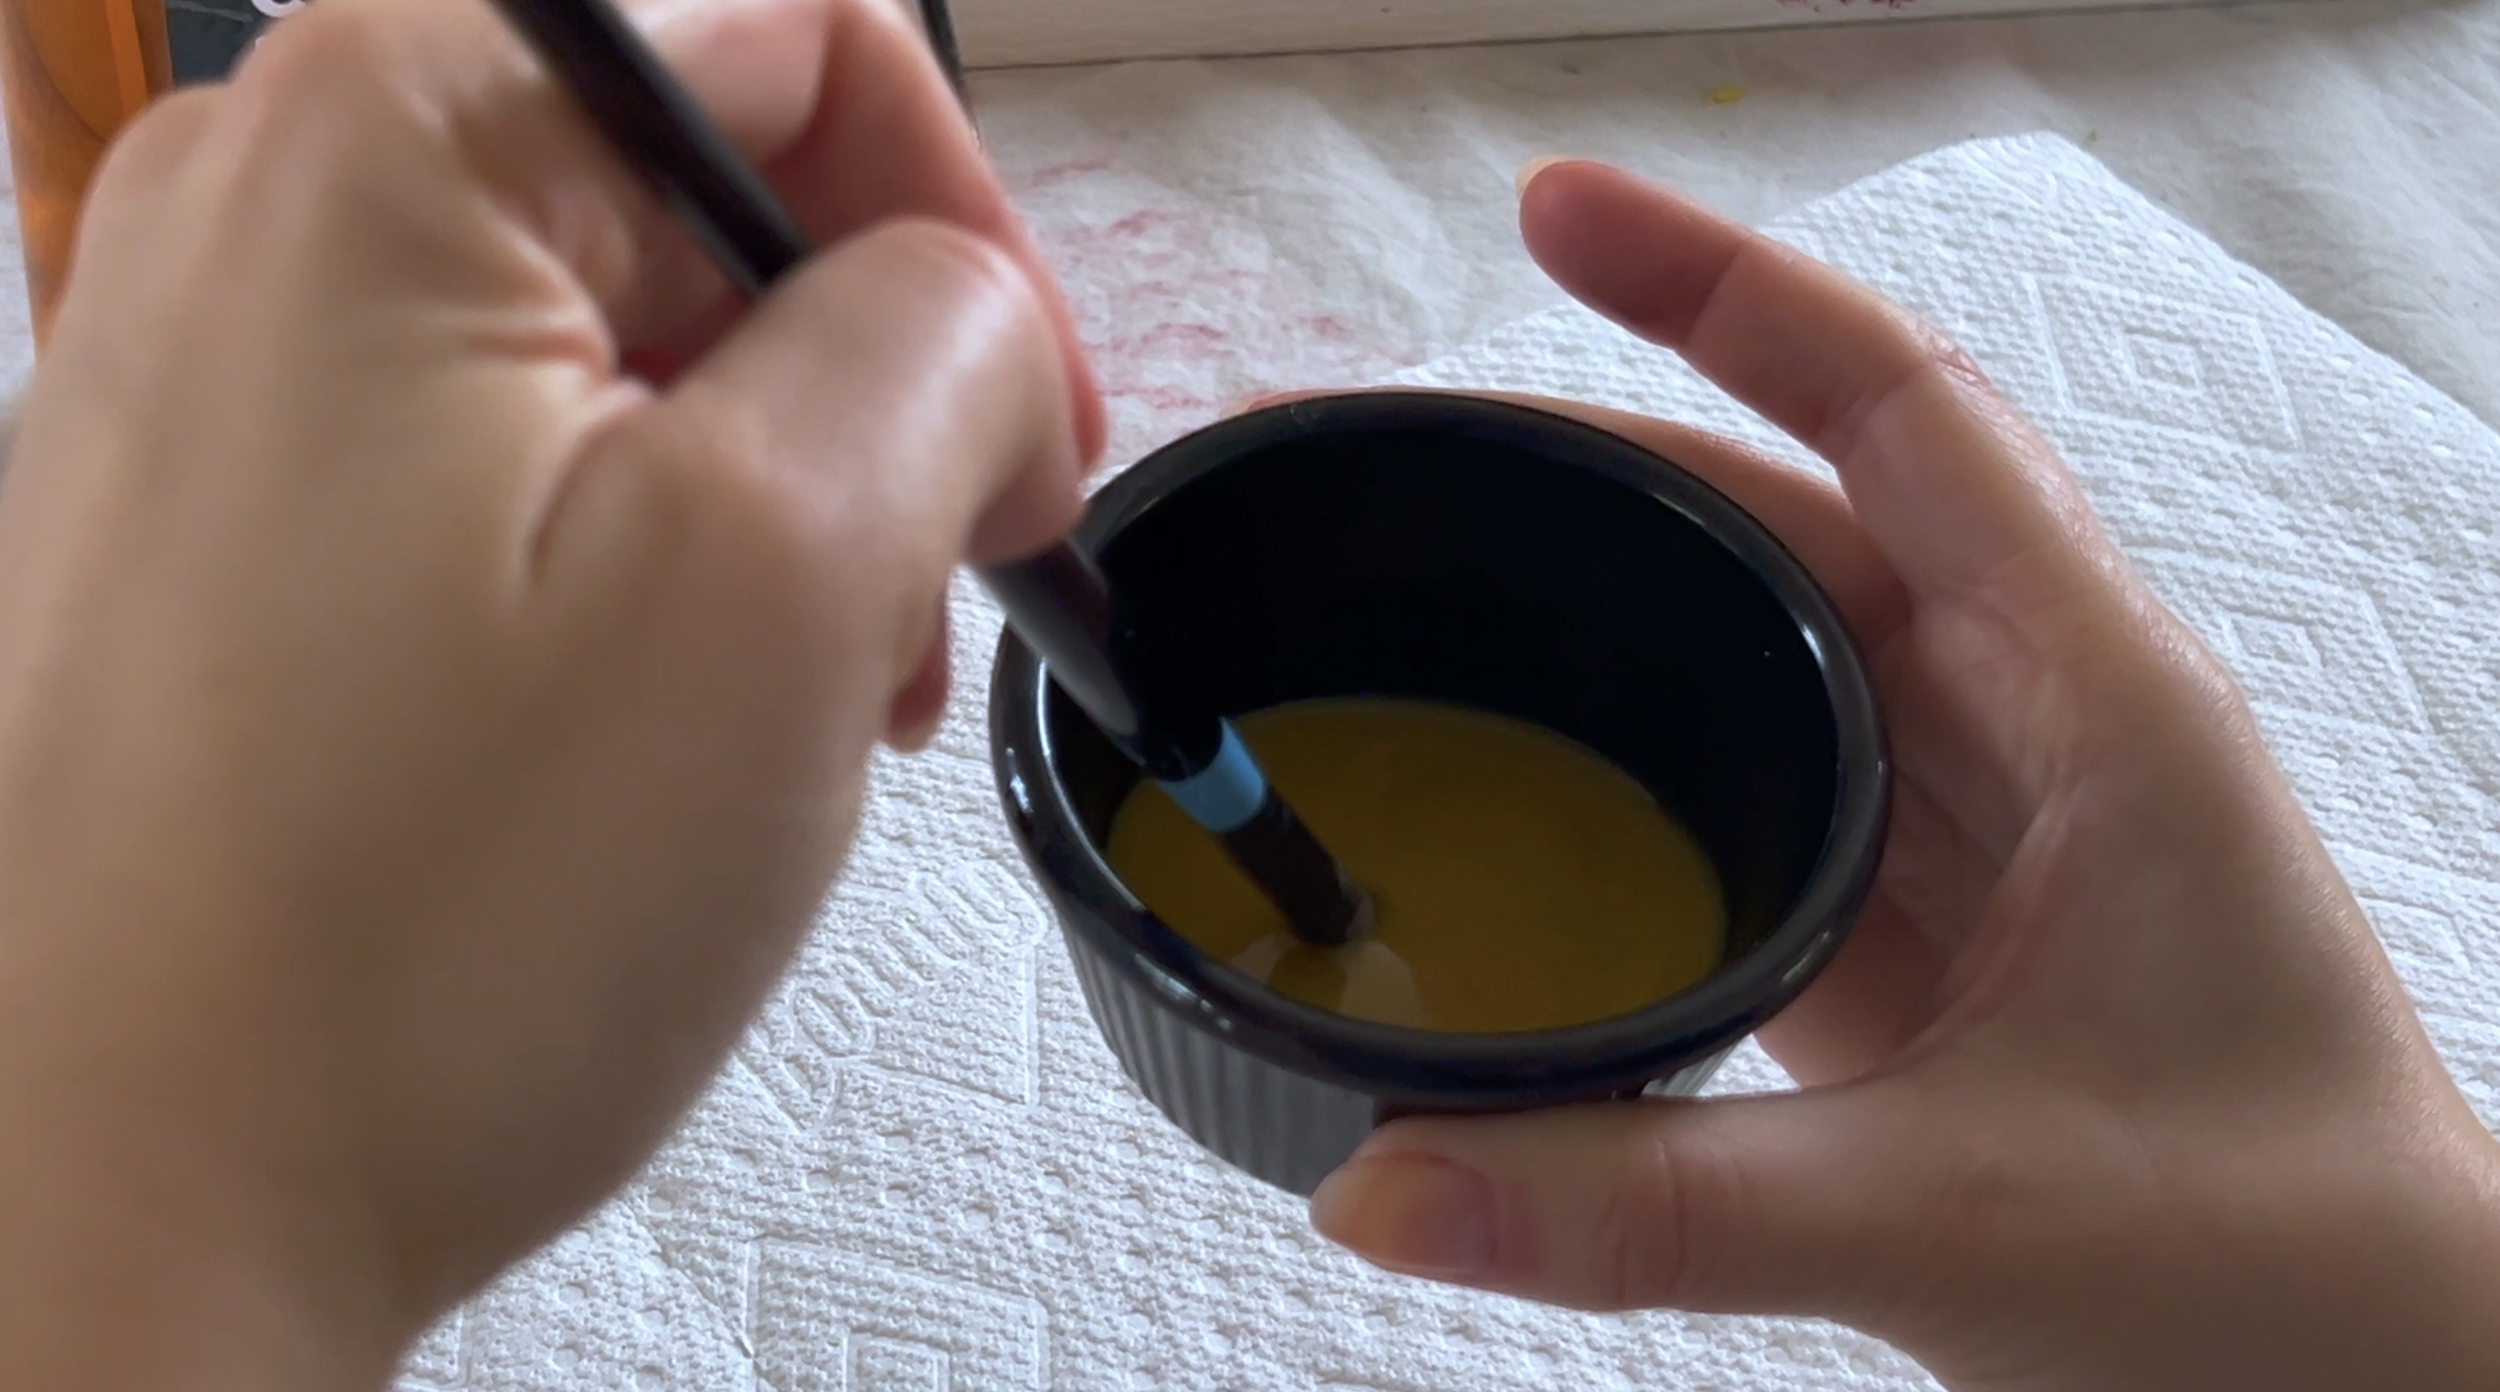
Step 2:
Take your brush and gently swirl it around in the cleaning liquid. As you do this, you’ll see the paint begin to release from the bristles.
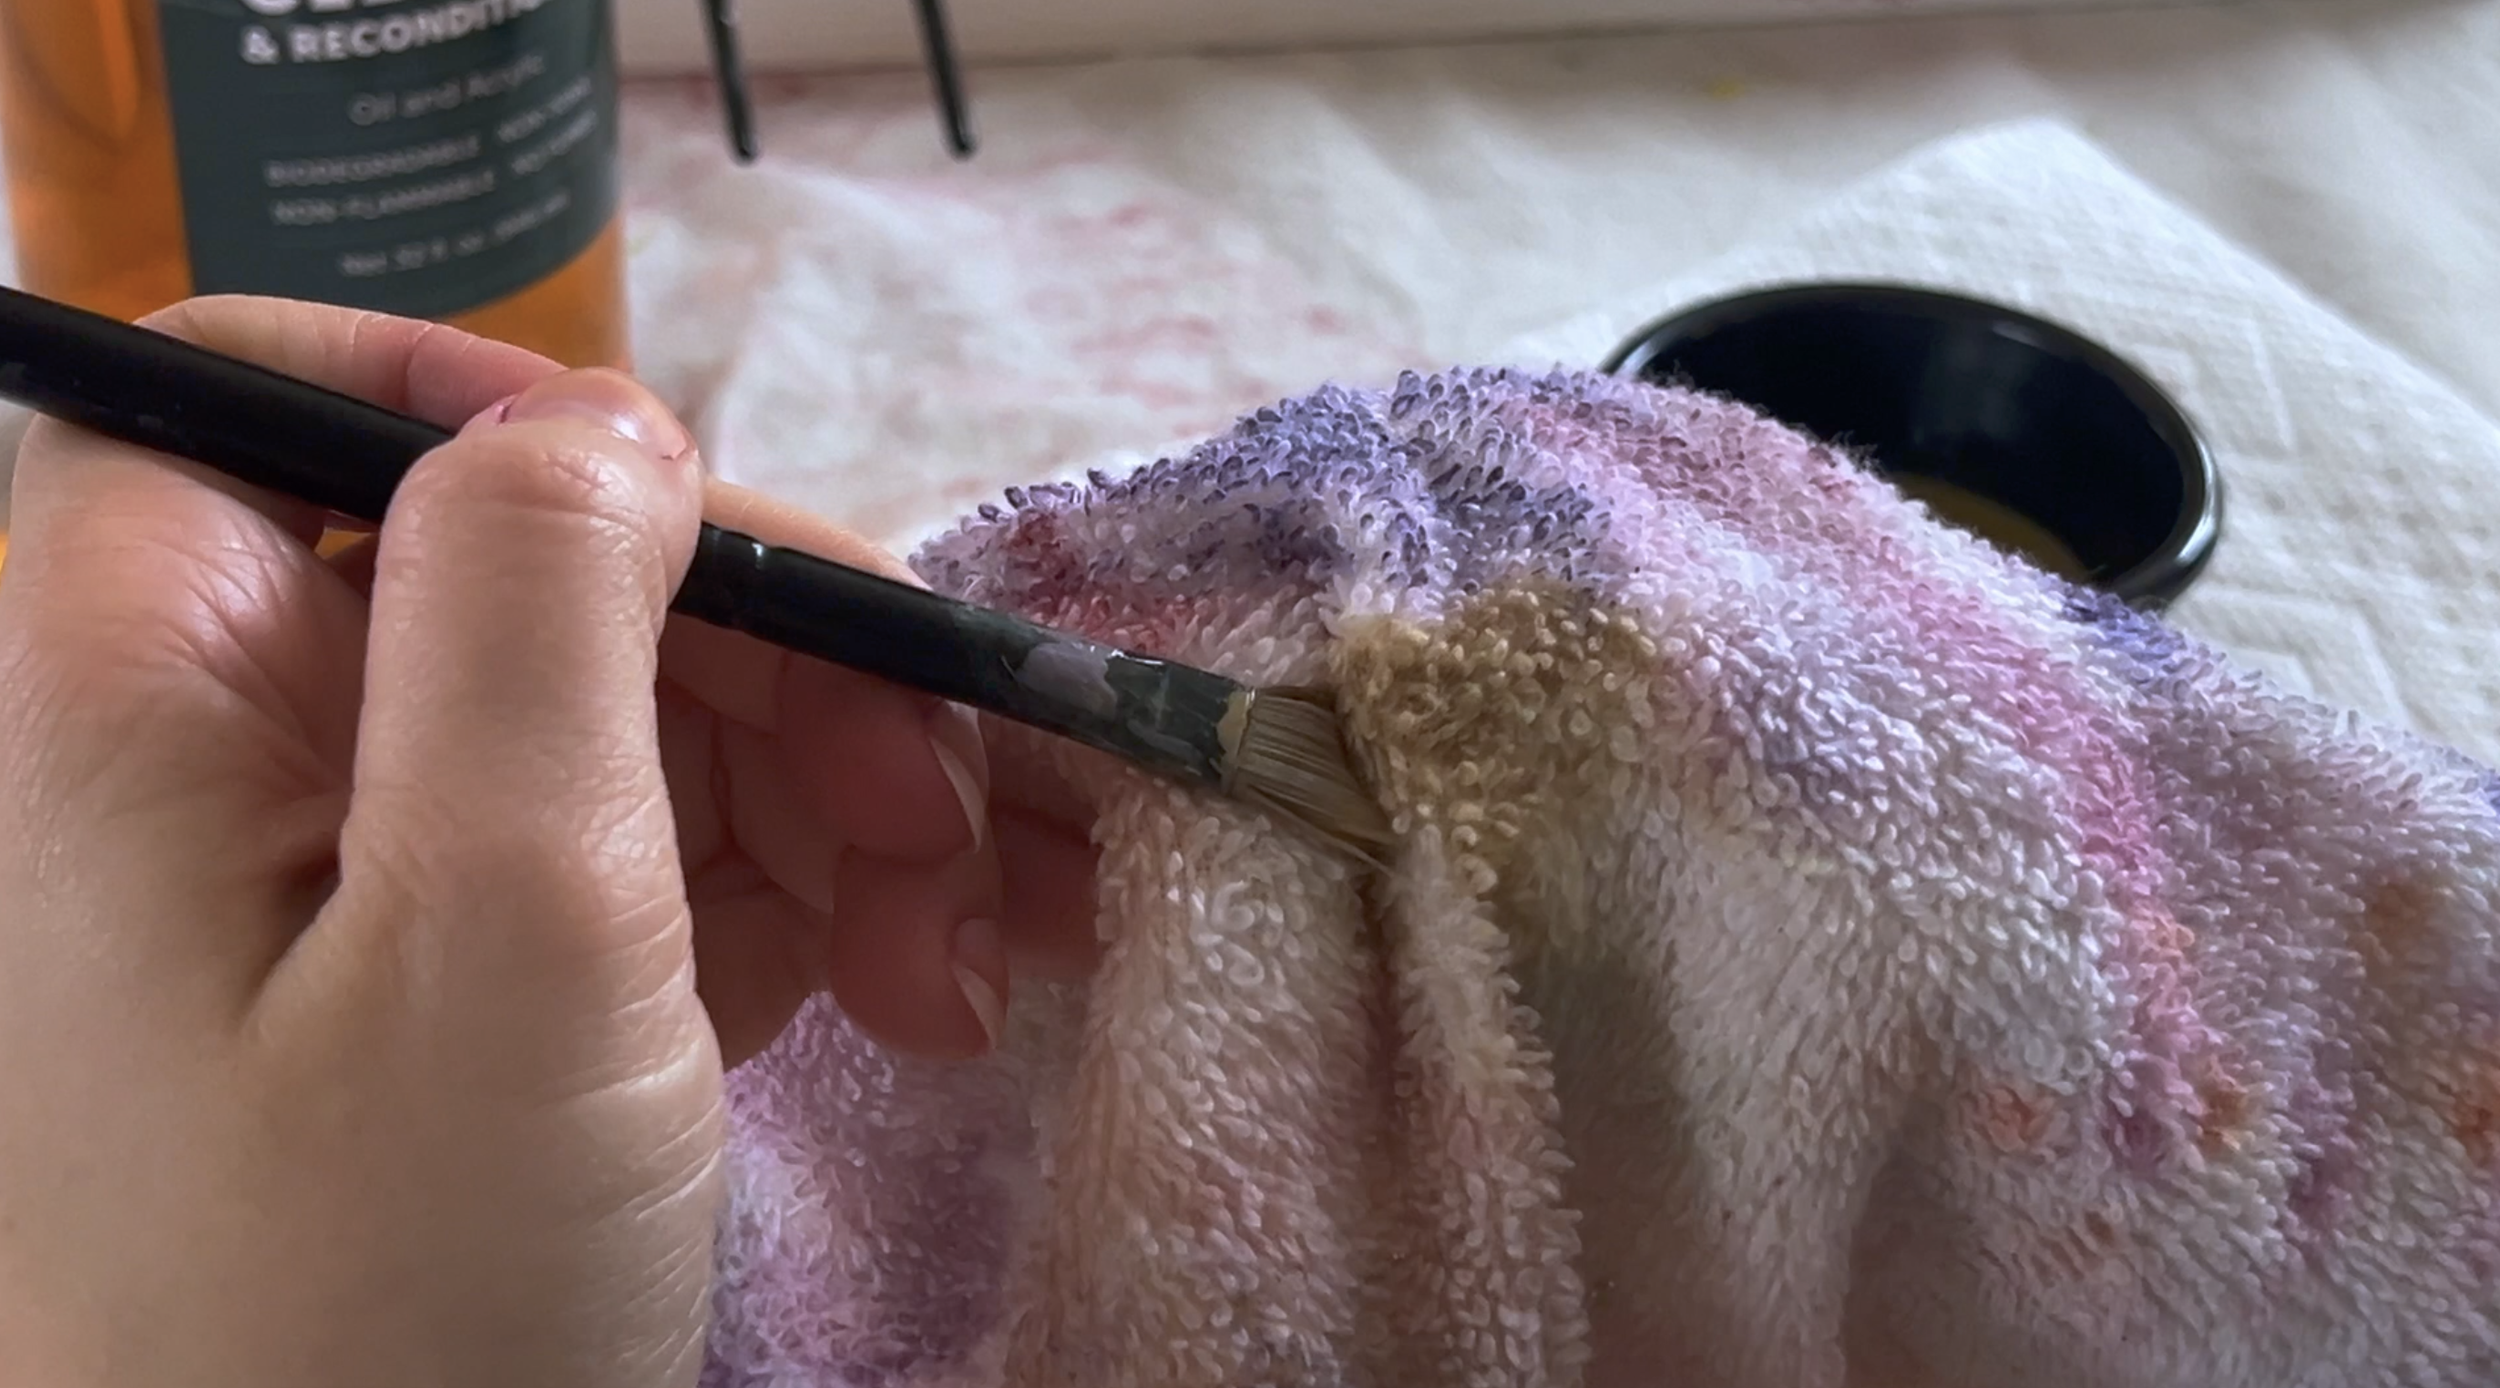
Step 3:
After swirling for a few seconds, wipe the brush onto a towel to remove excess paint and cleaner.
You’ll repeat this swirl-and-wipe process until the brush is clean.
Sometimes paint can get stuck deep inside the bristles. When that happens, I gently use my fingers or nails through the towel to loosen stubborn paint buildup.
If paint has dried and hardened on your brush, you can leave the brush soaking in the cleaner for about 10 to 30 minutes. After soaking, gently massage the bristles with your fingers and wipe it on your towel to help break up the dried paint.

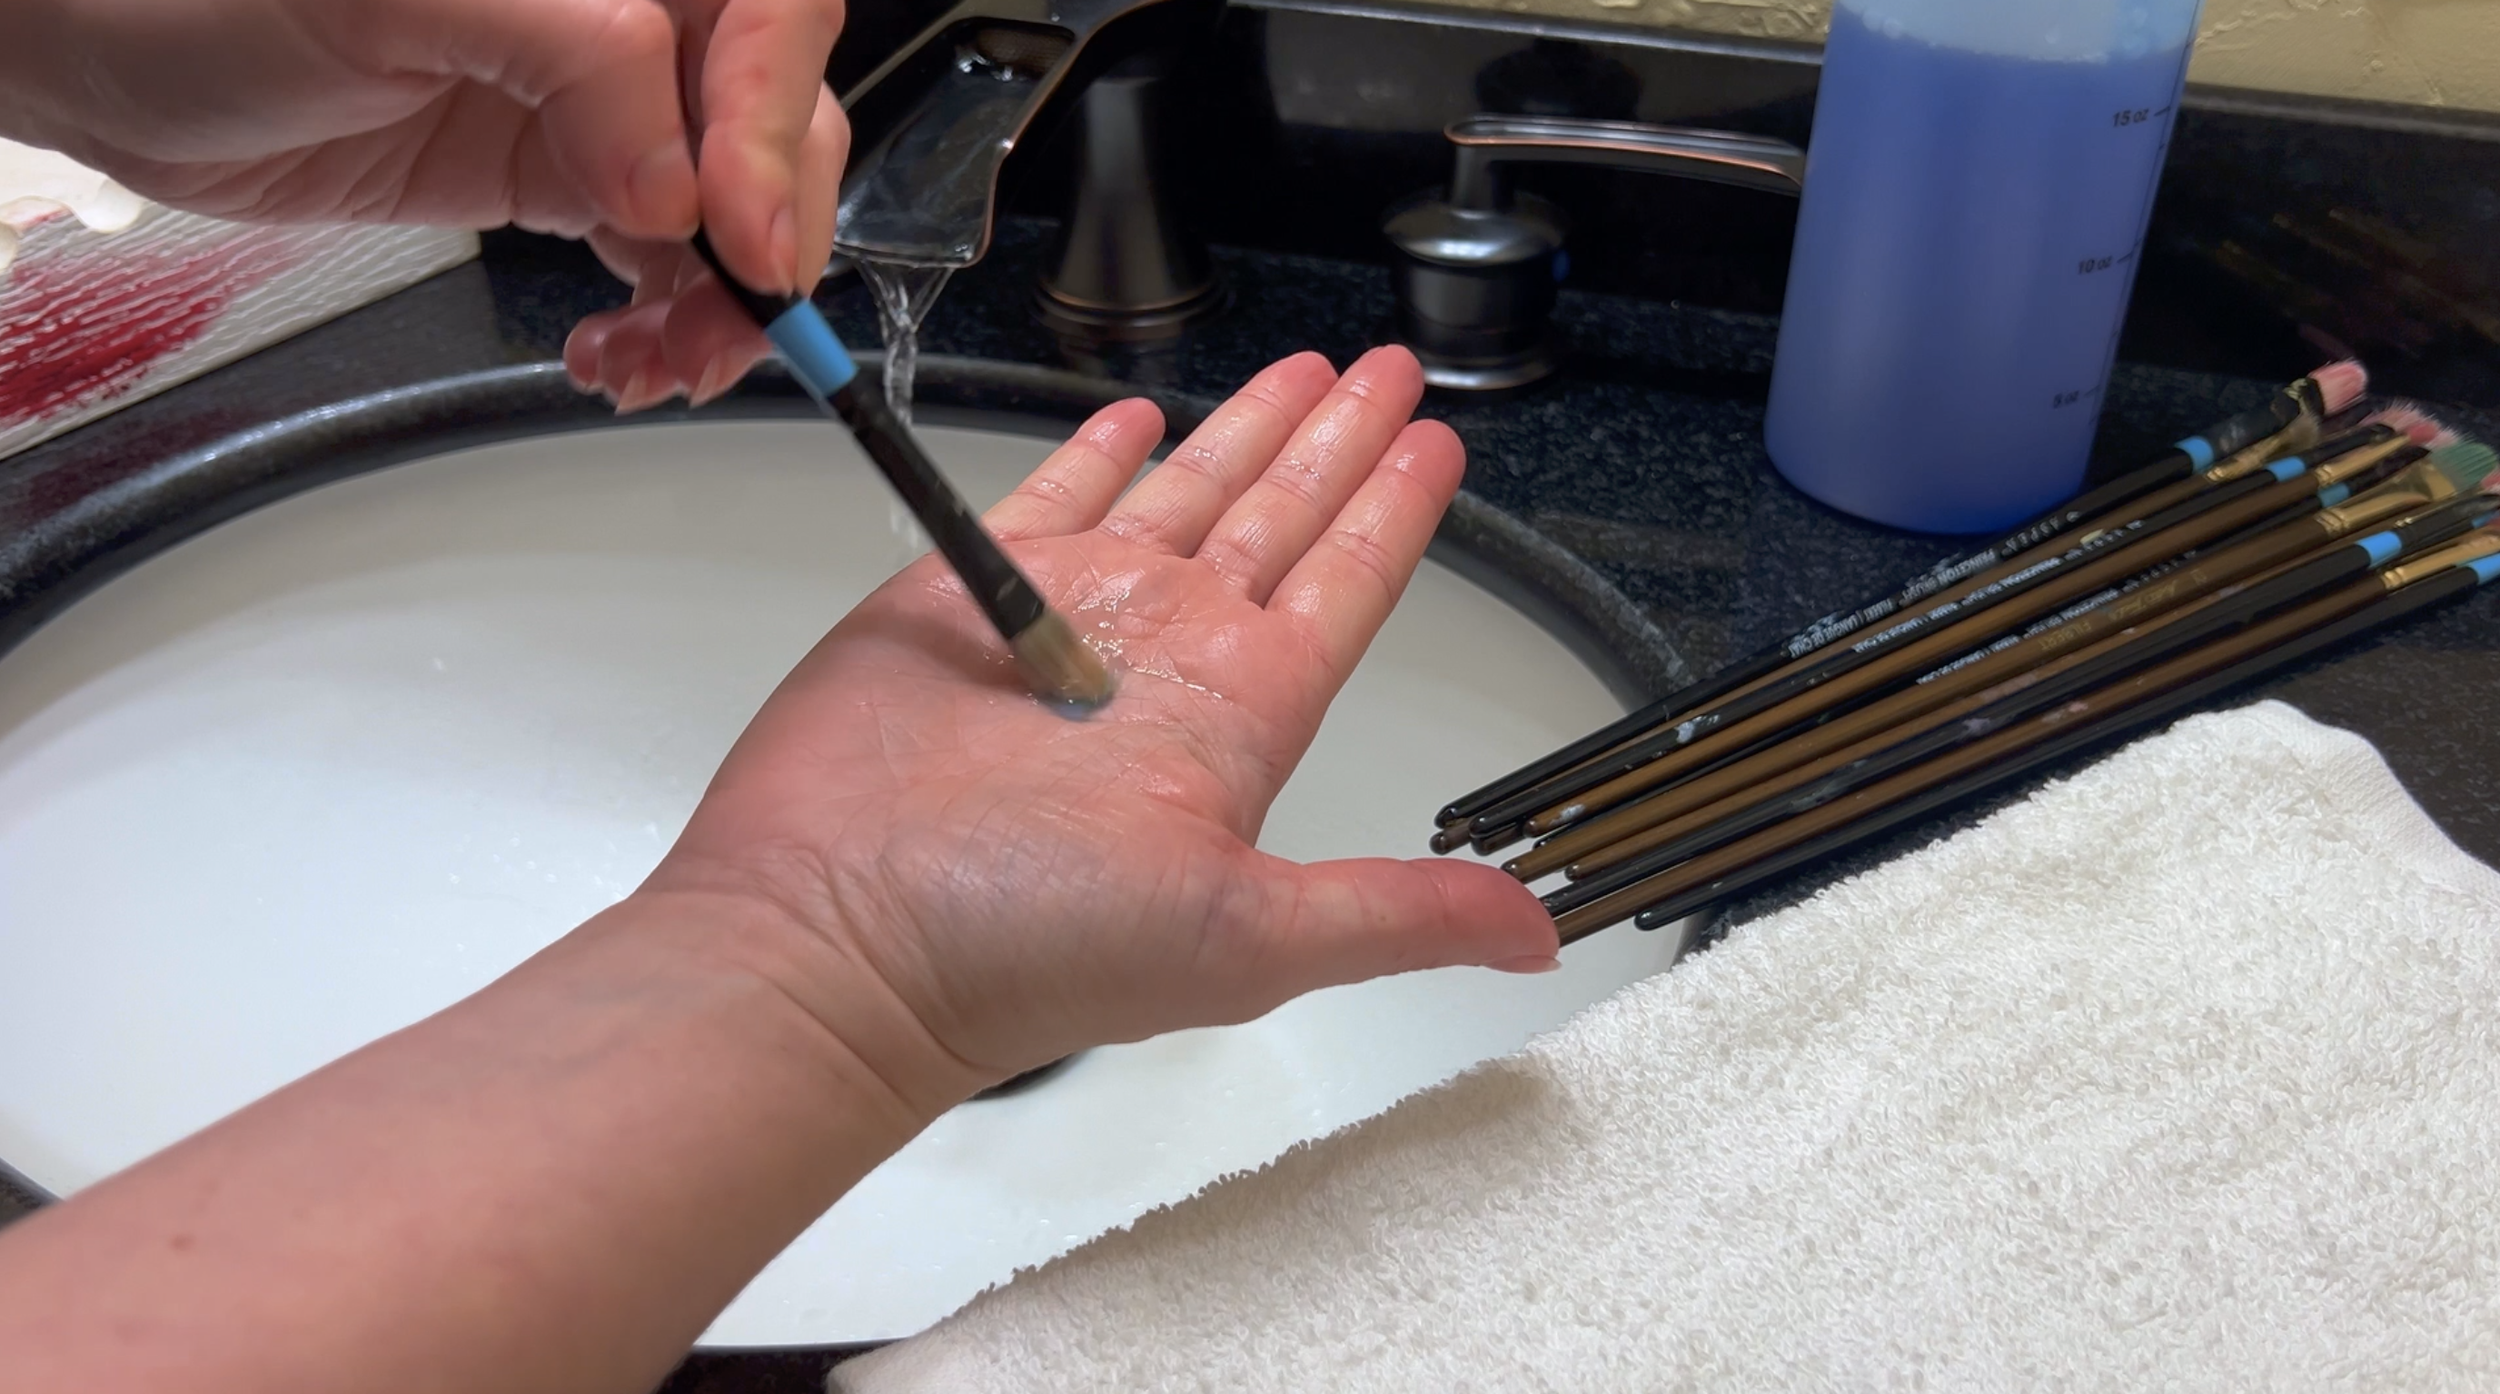
Step 4:
After your brushes look clean, I like to give them one final rinse under water with a tiny drop of Dawn dish soap to remove any leftover oil paint or cleaner.
Work the soap gently through the bristles, rinse thoroughly, and reshape the brush back to its original form.
Step 5:
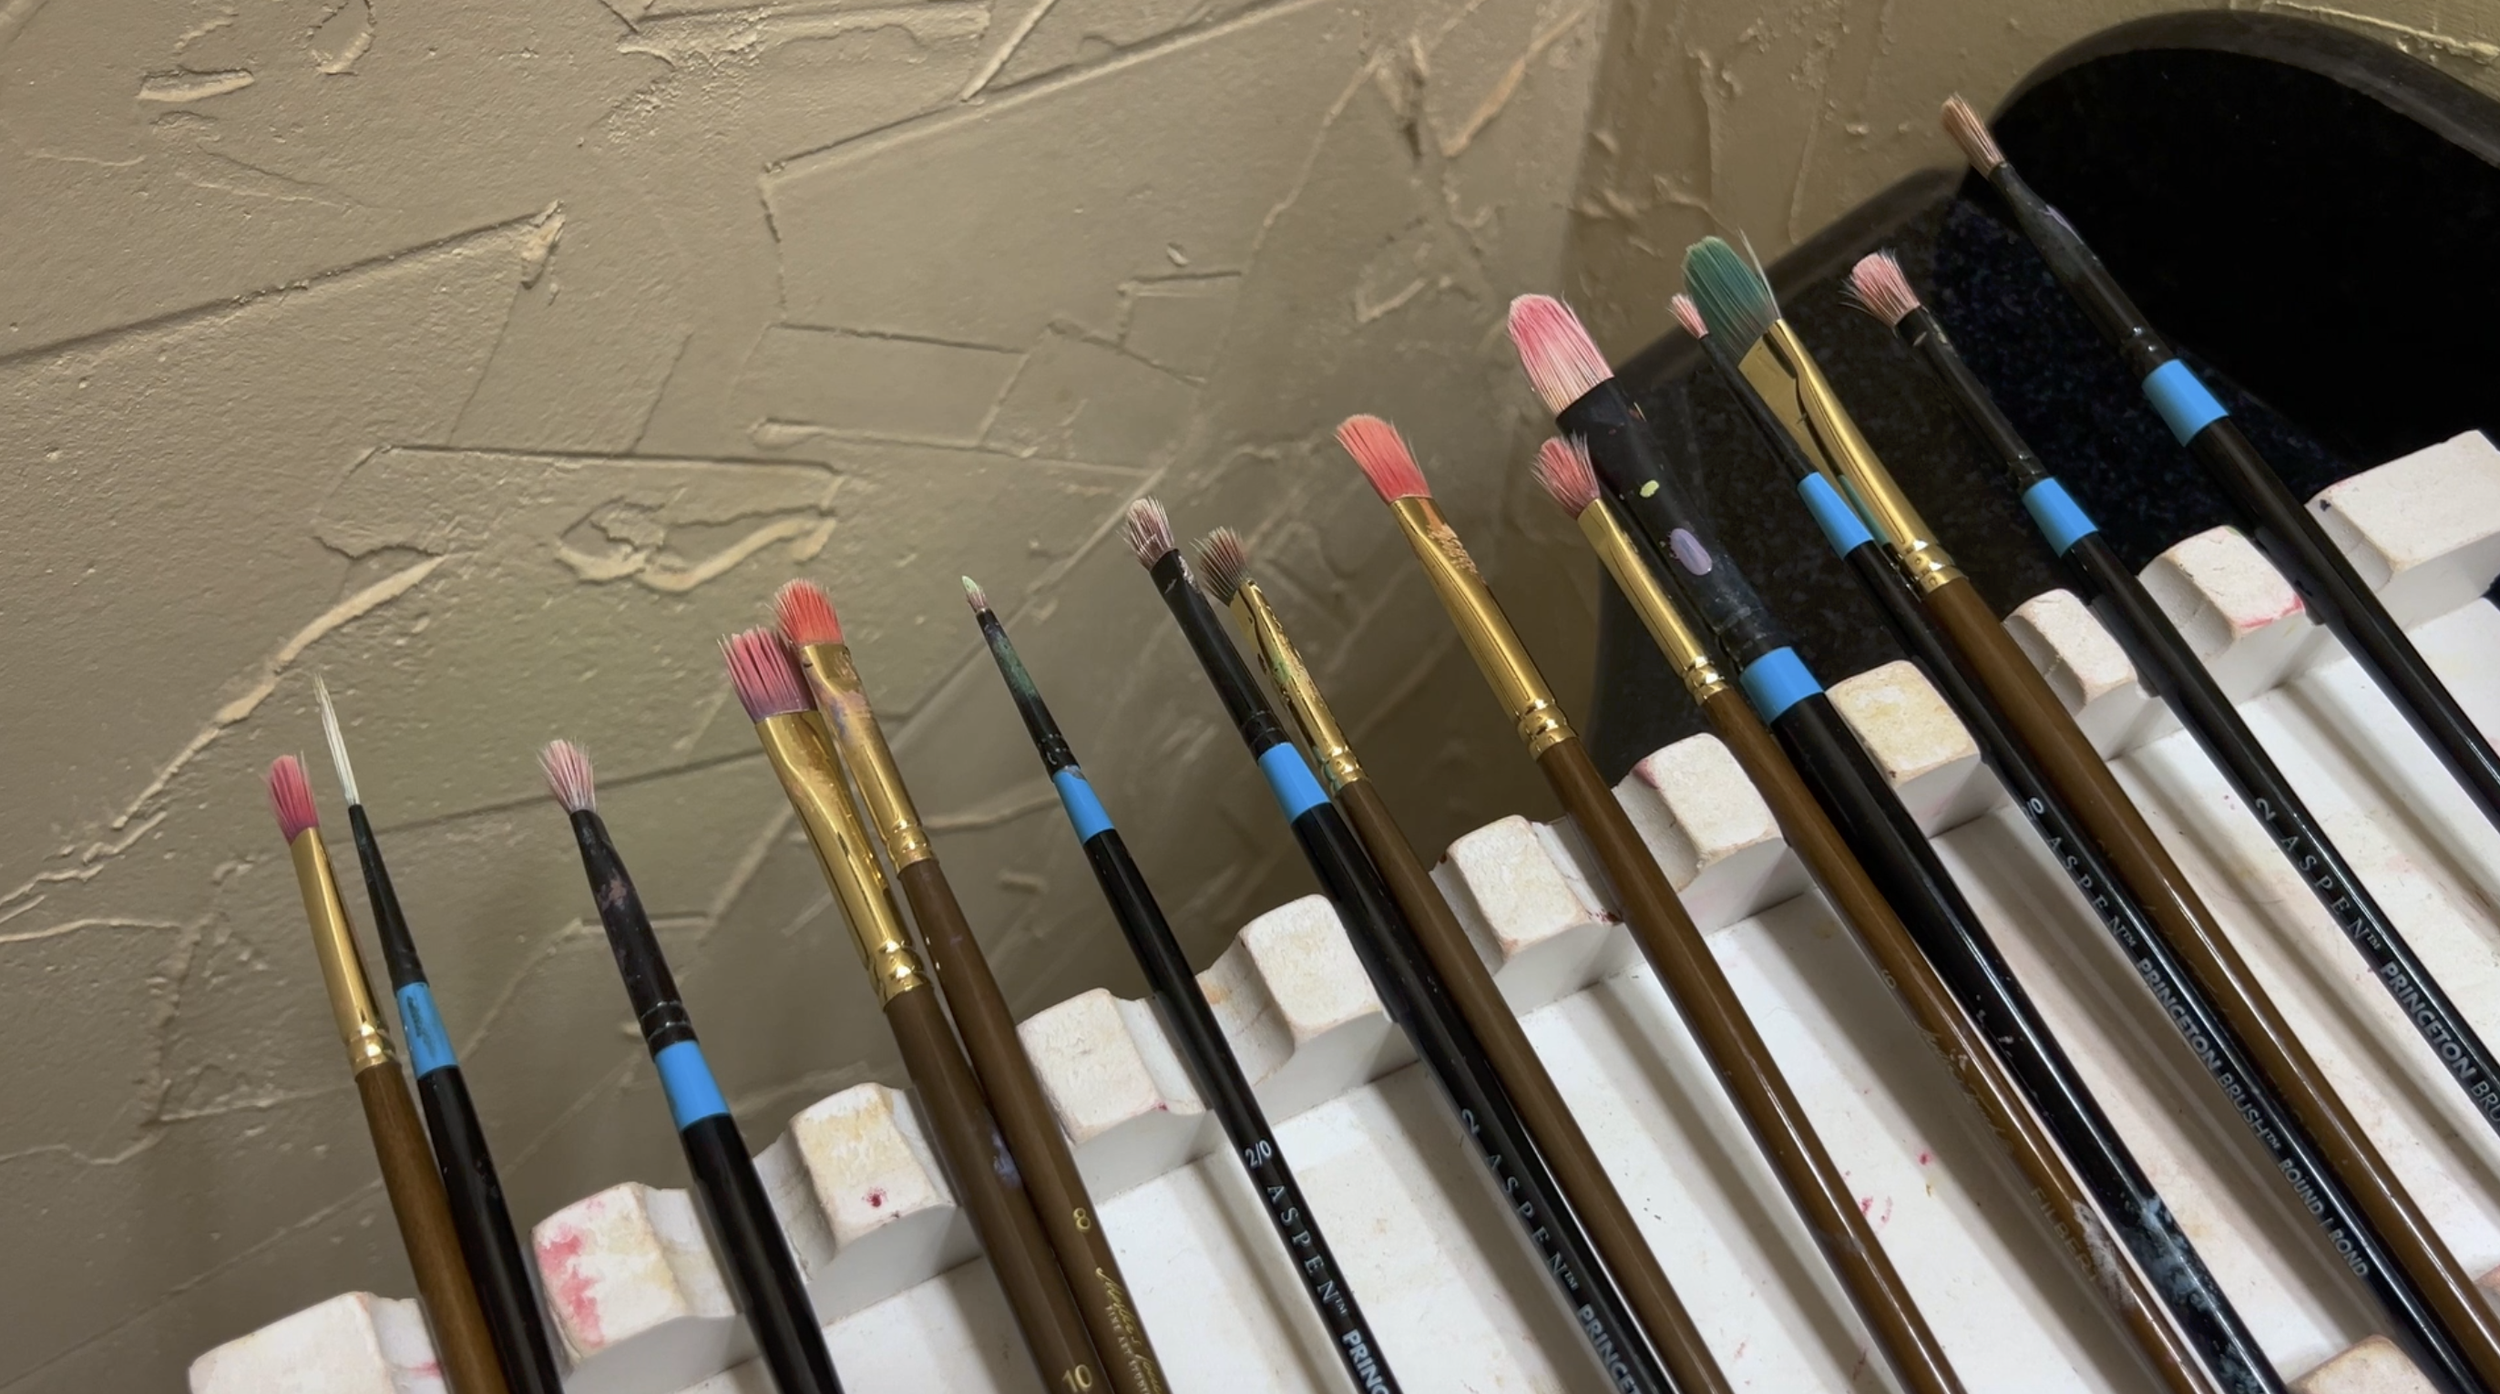
Once your brushes are clean, lay them flat horizontally on a towel to dry.
Avoid standing brushes upright while they’re wet because water can drip into the wooden handle and loosen the glue holding the bristles in place.
Now that your brushes are clean and properly drying, let’s move on to cleaning your palette.
A clean palette gives you a fresh surface for mixing colors and helps you stay organized while you work.
If you’re using a glass palette, cleaning is very simple.
You’ll need:
• A handheld blade scraper
• Isopropyl alcohol in a spray bottle ( you can grab at local grocery or pharmacy store)
• Paper towels
How to Clean a Glass Palette
Step 1:
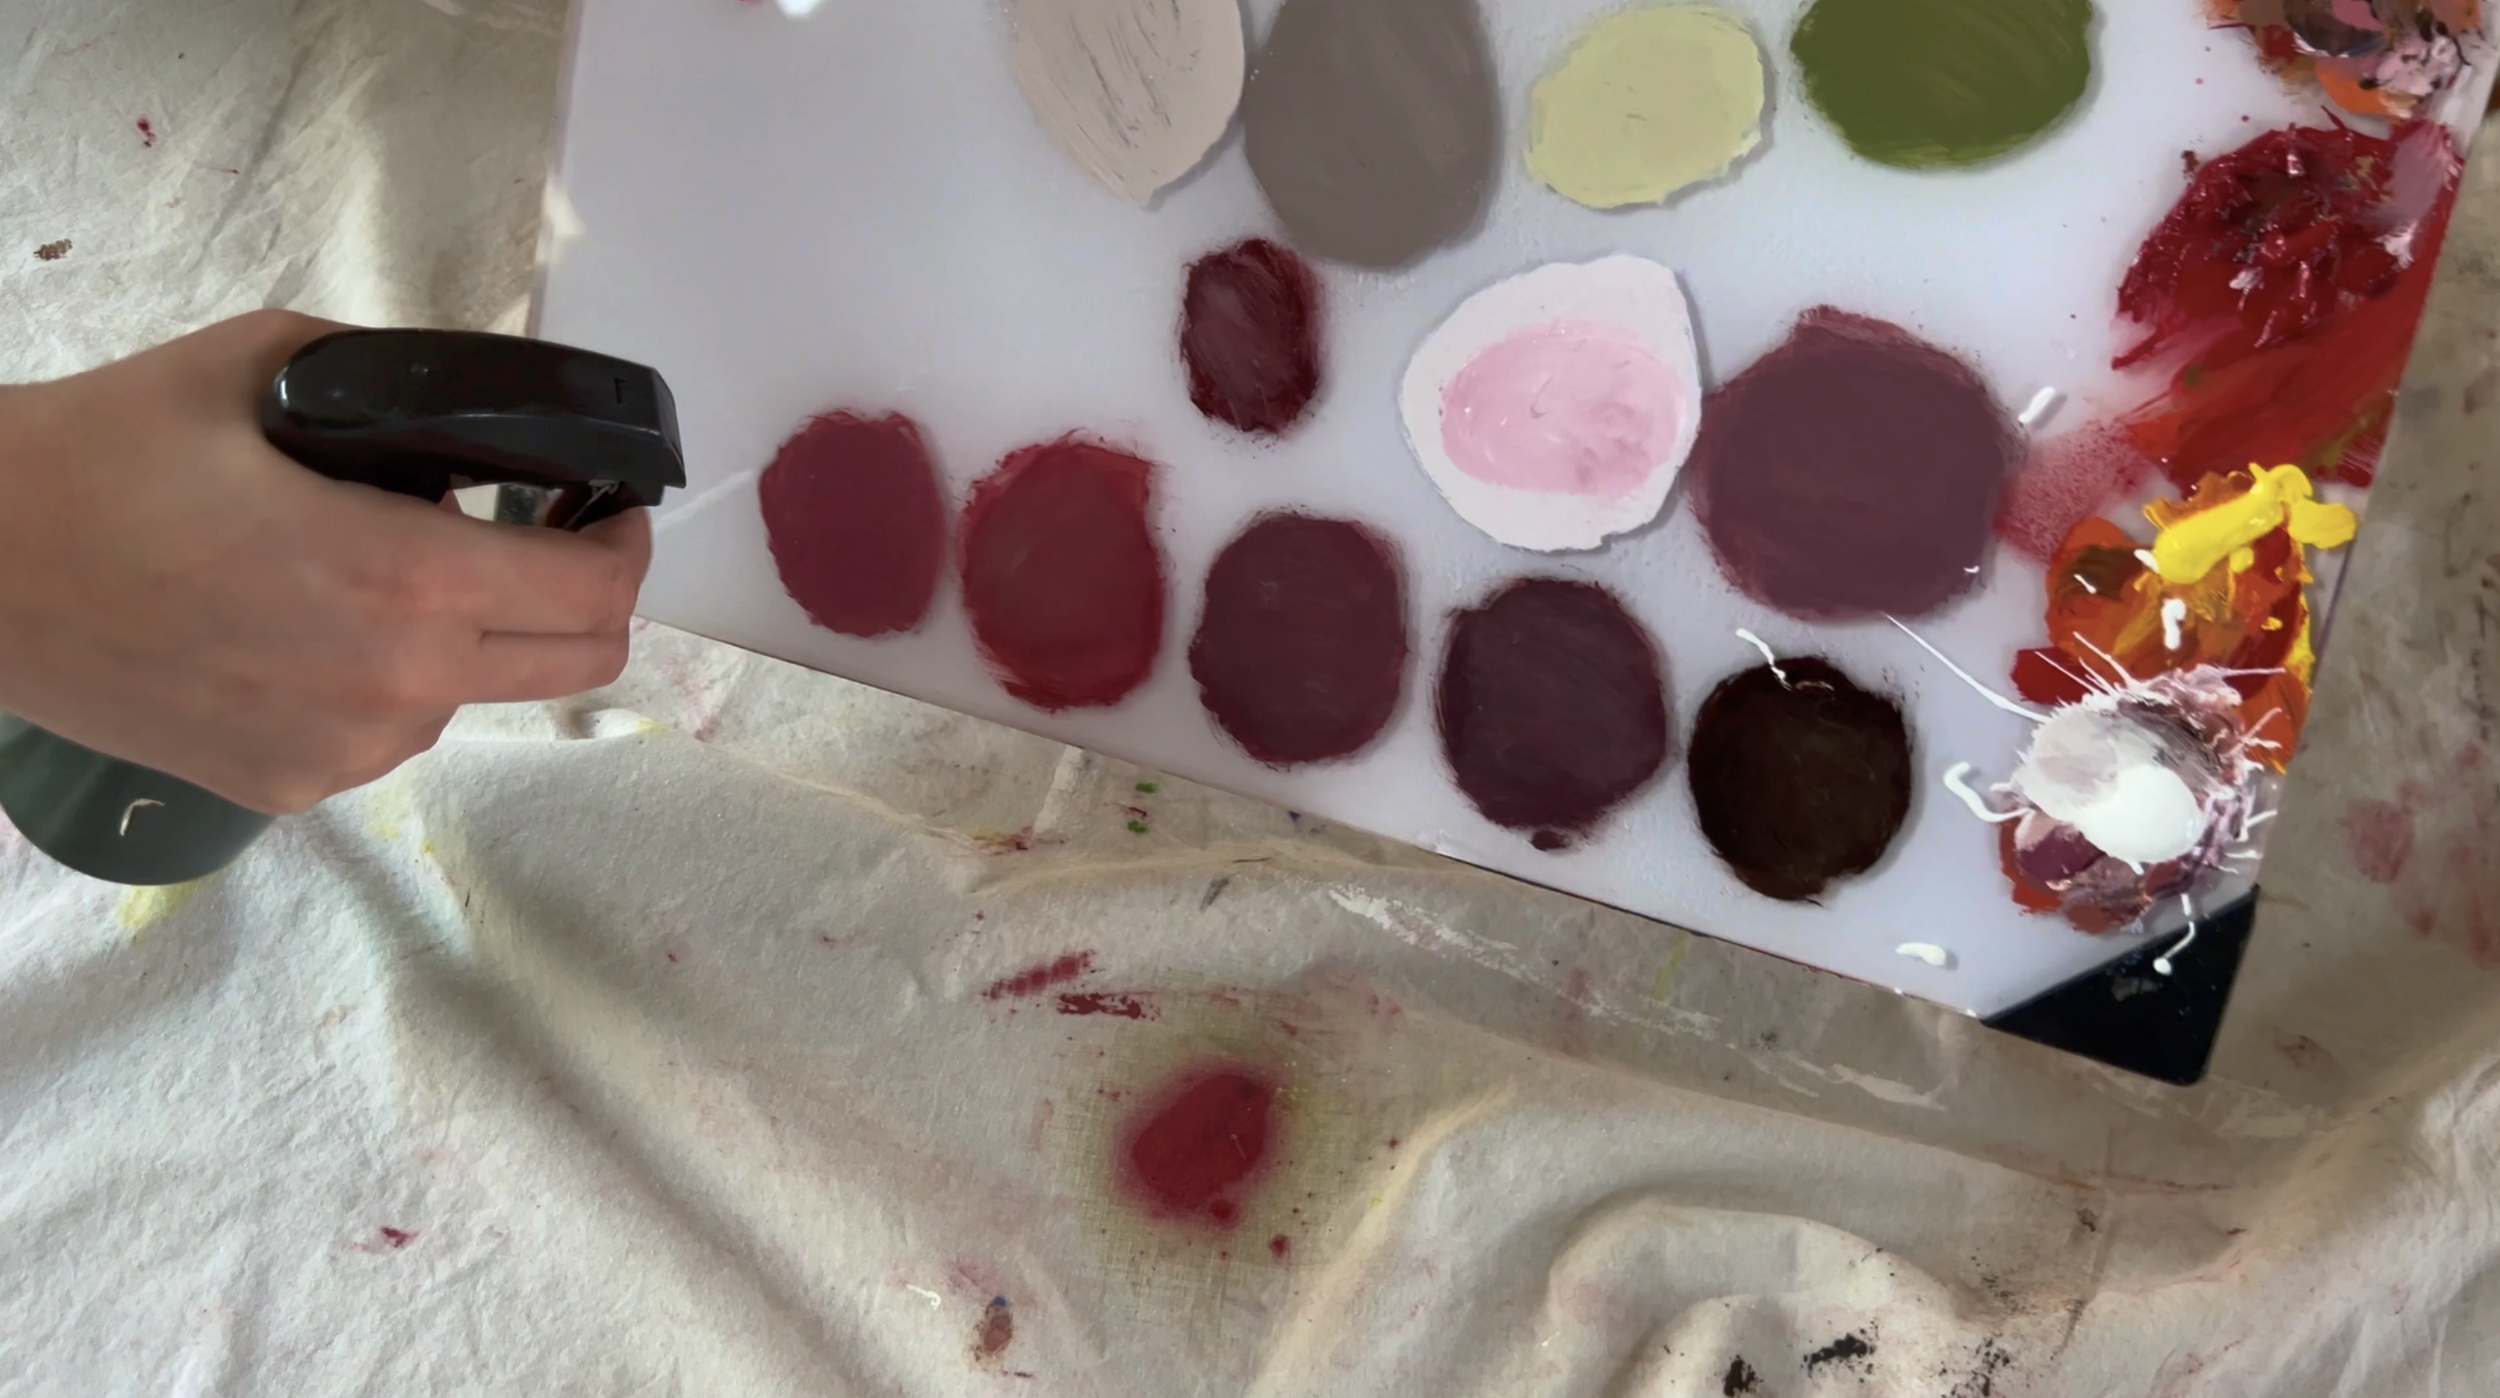
Start by spraying a generous amount of isopropyl alcohol across your palette.
Let it sit for a few minutes. This helps soften the dried paint and makes it easier to remove.
Step 2:
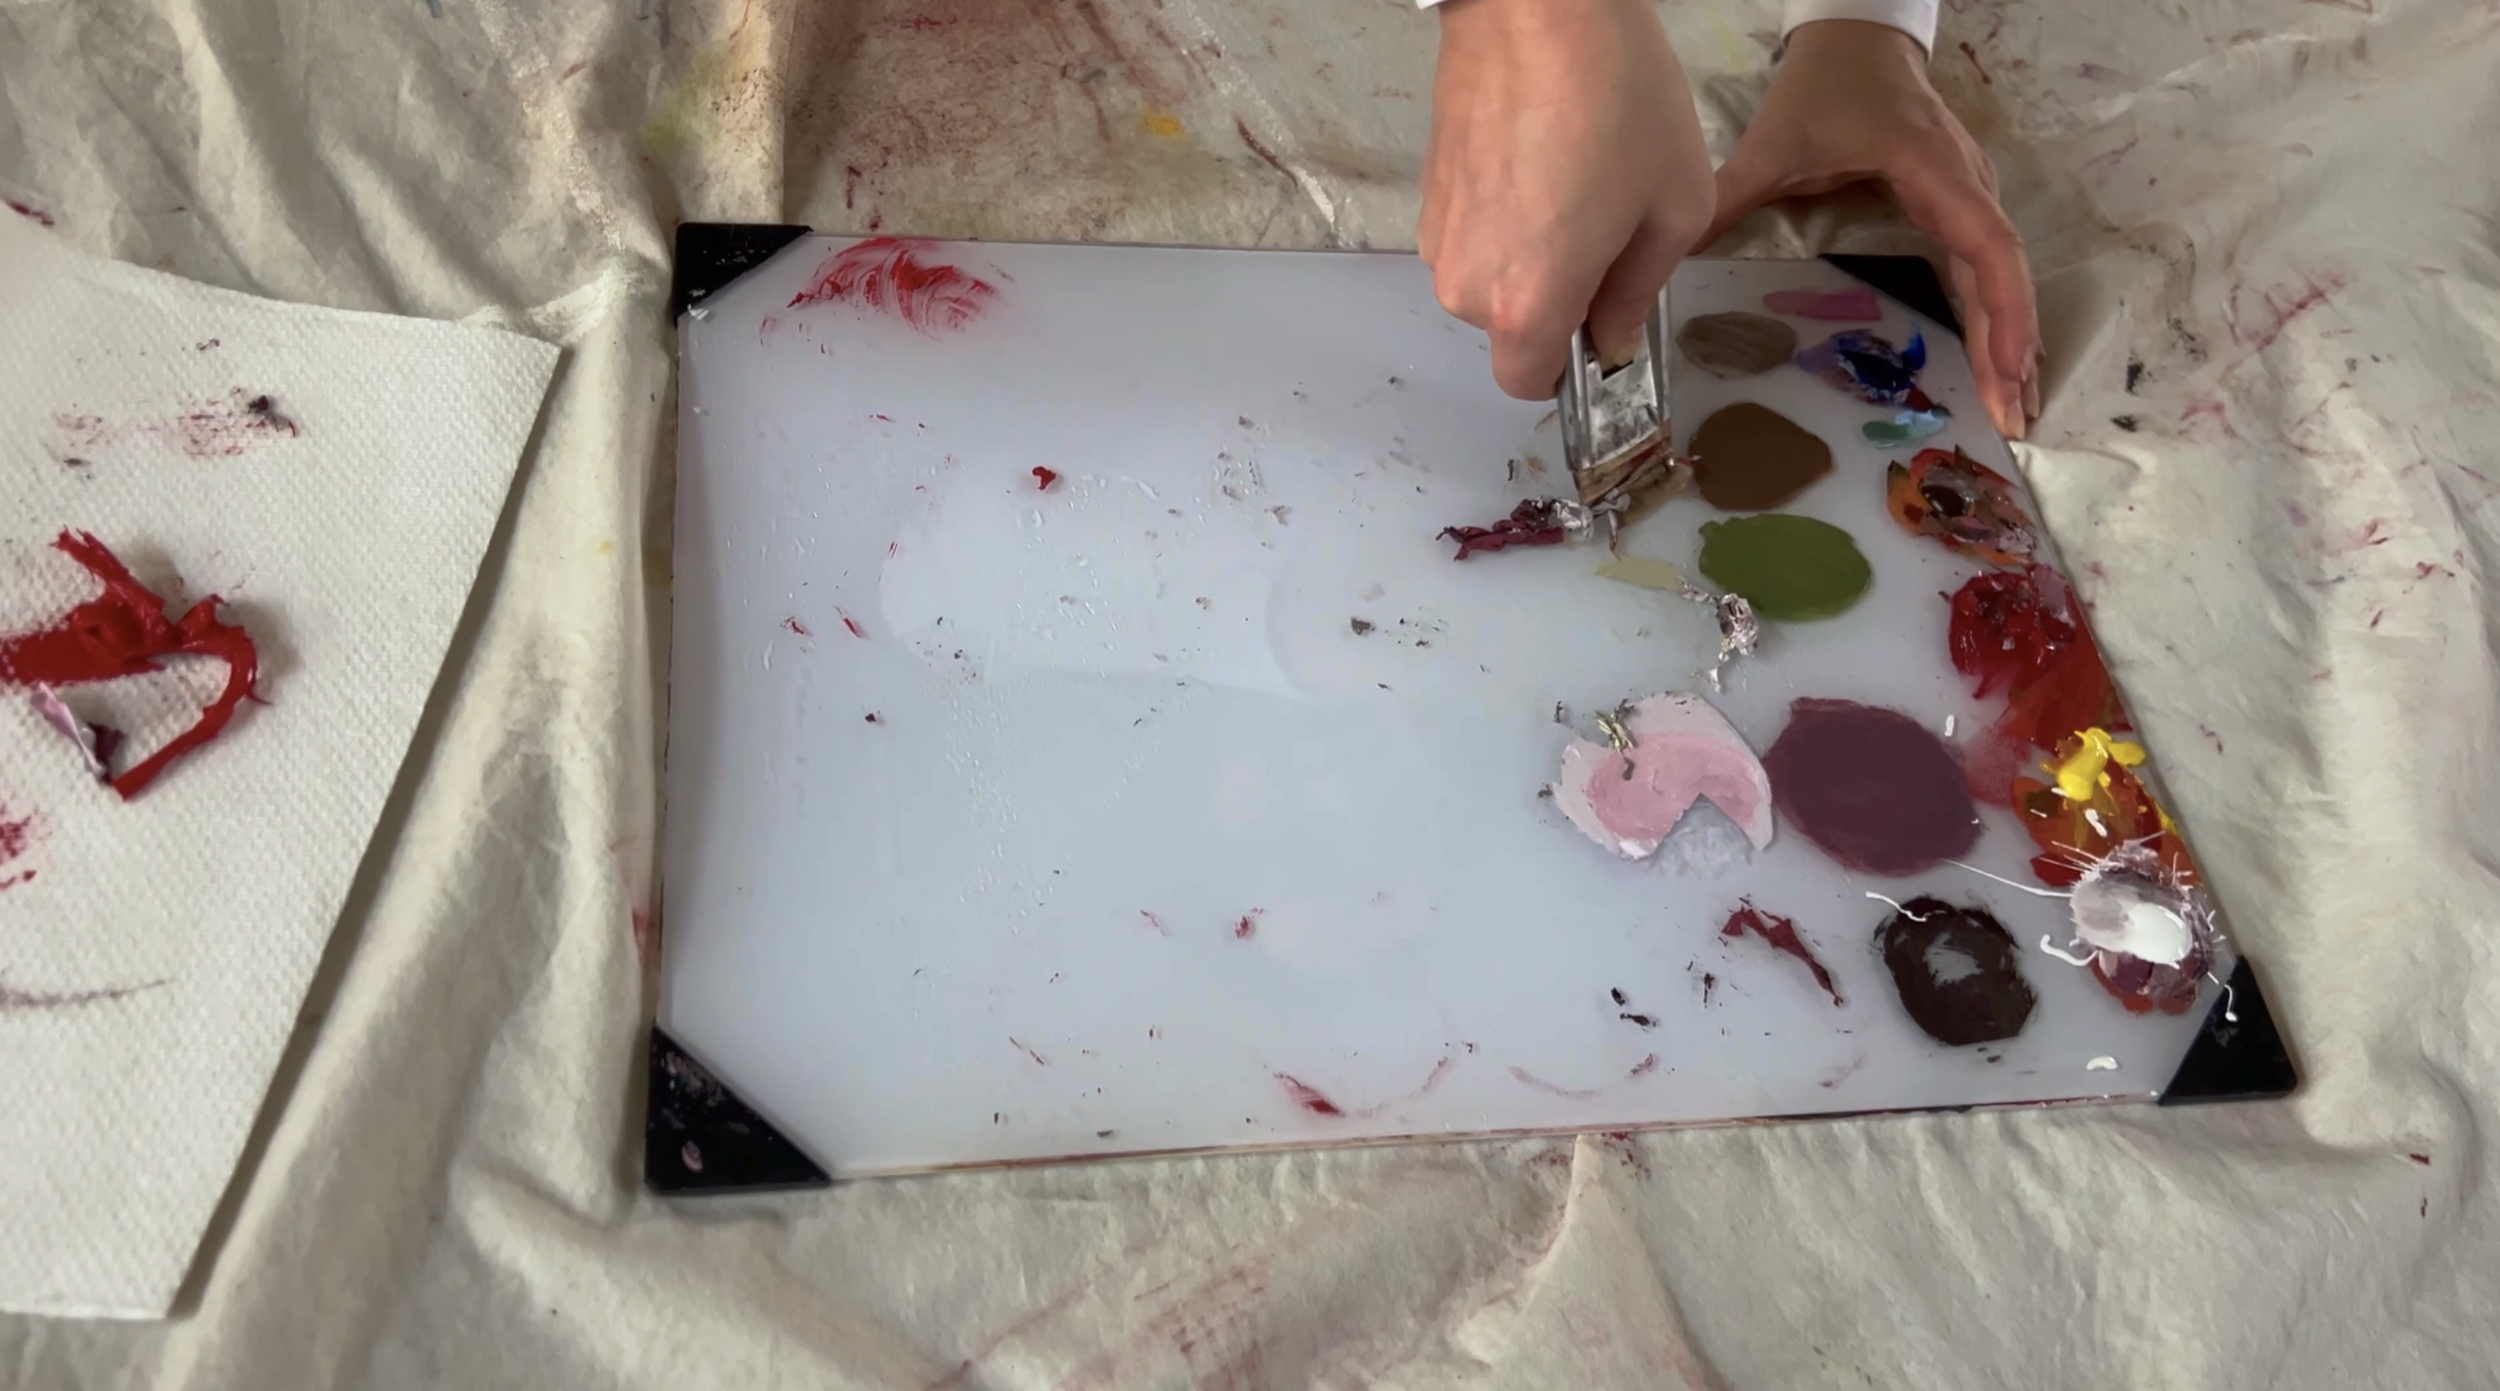
Next, carefully use your blade scraper to lift the paint off the palette.
Always scrape away from your body and take your time. These blades are extremely sharp, and it’s very easy to accidentally cut yourself if you rush.
Once the paint is lifted, wipe it onto a paper towel.
Step 3:
After removing the paint, give the palette one final spray with alcohol and wipe it clean with a fresh paper towel.
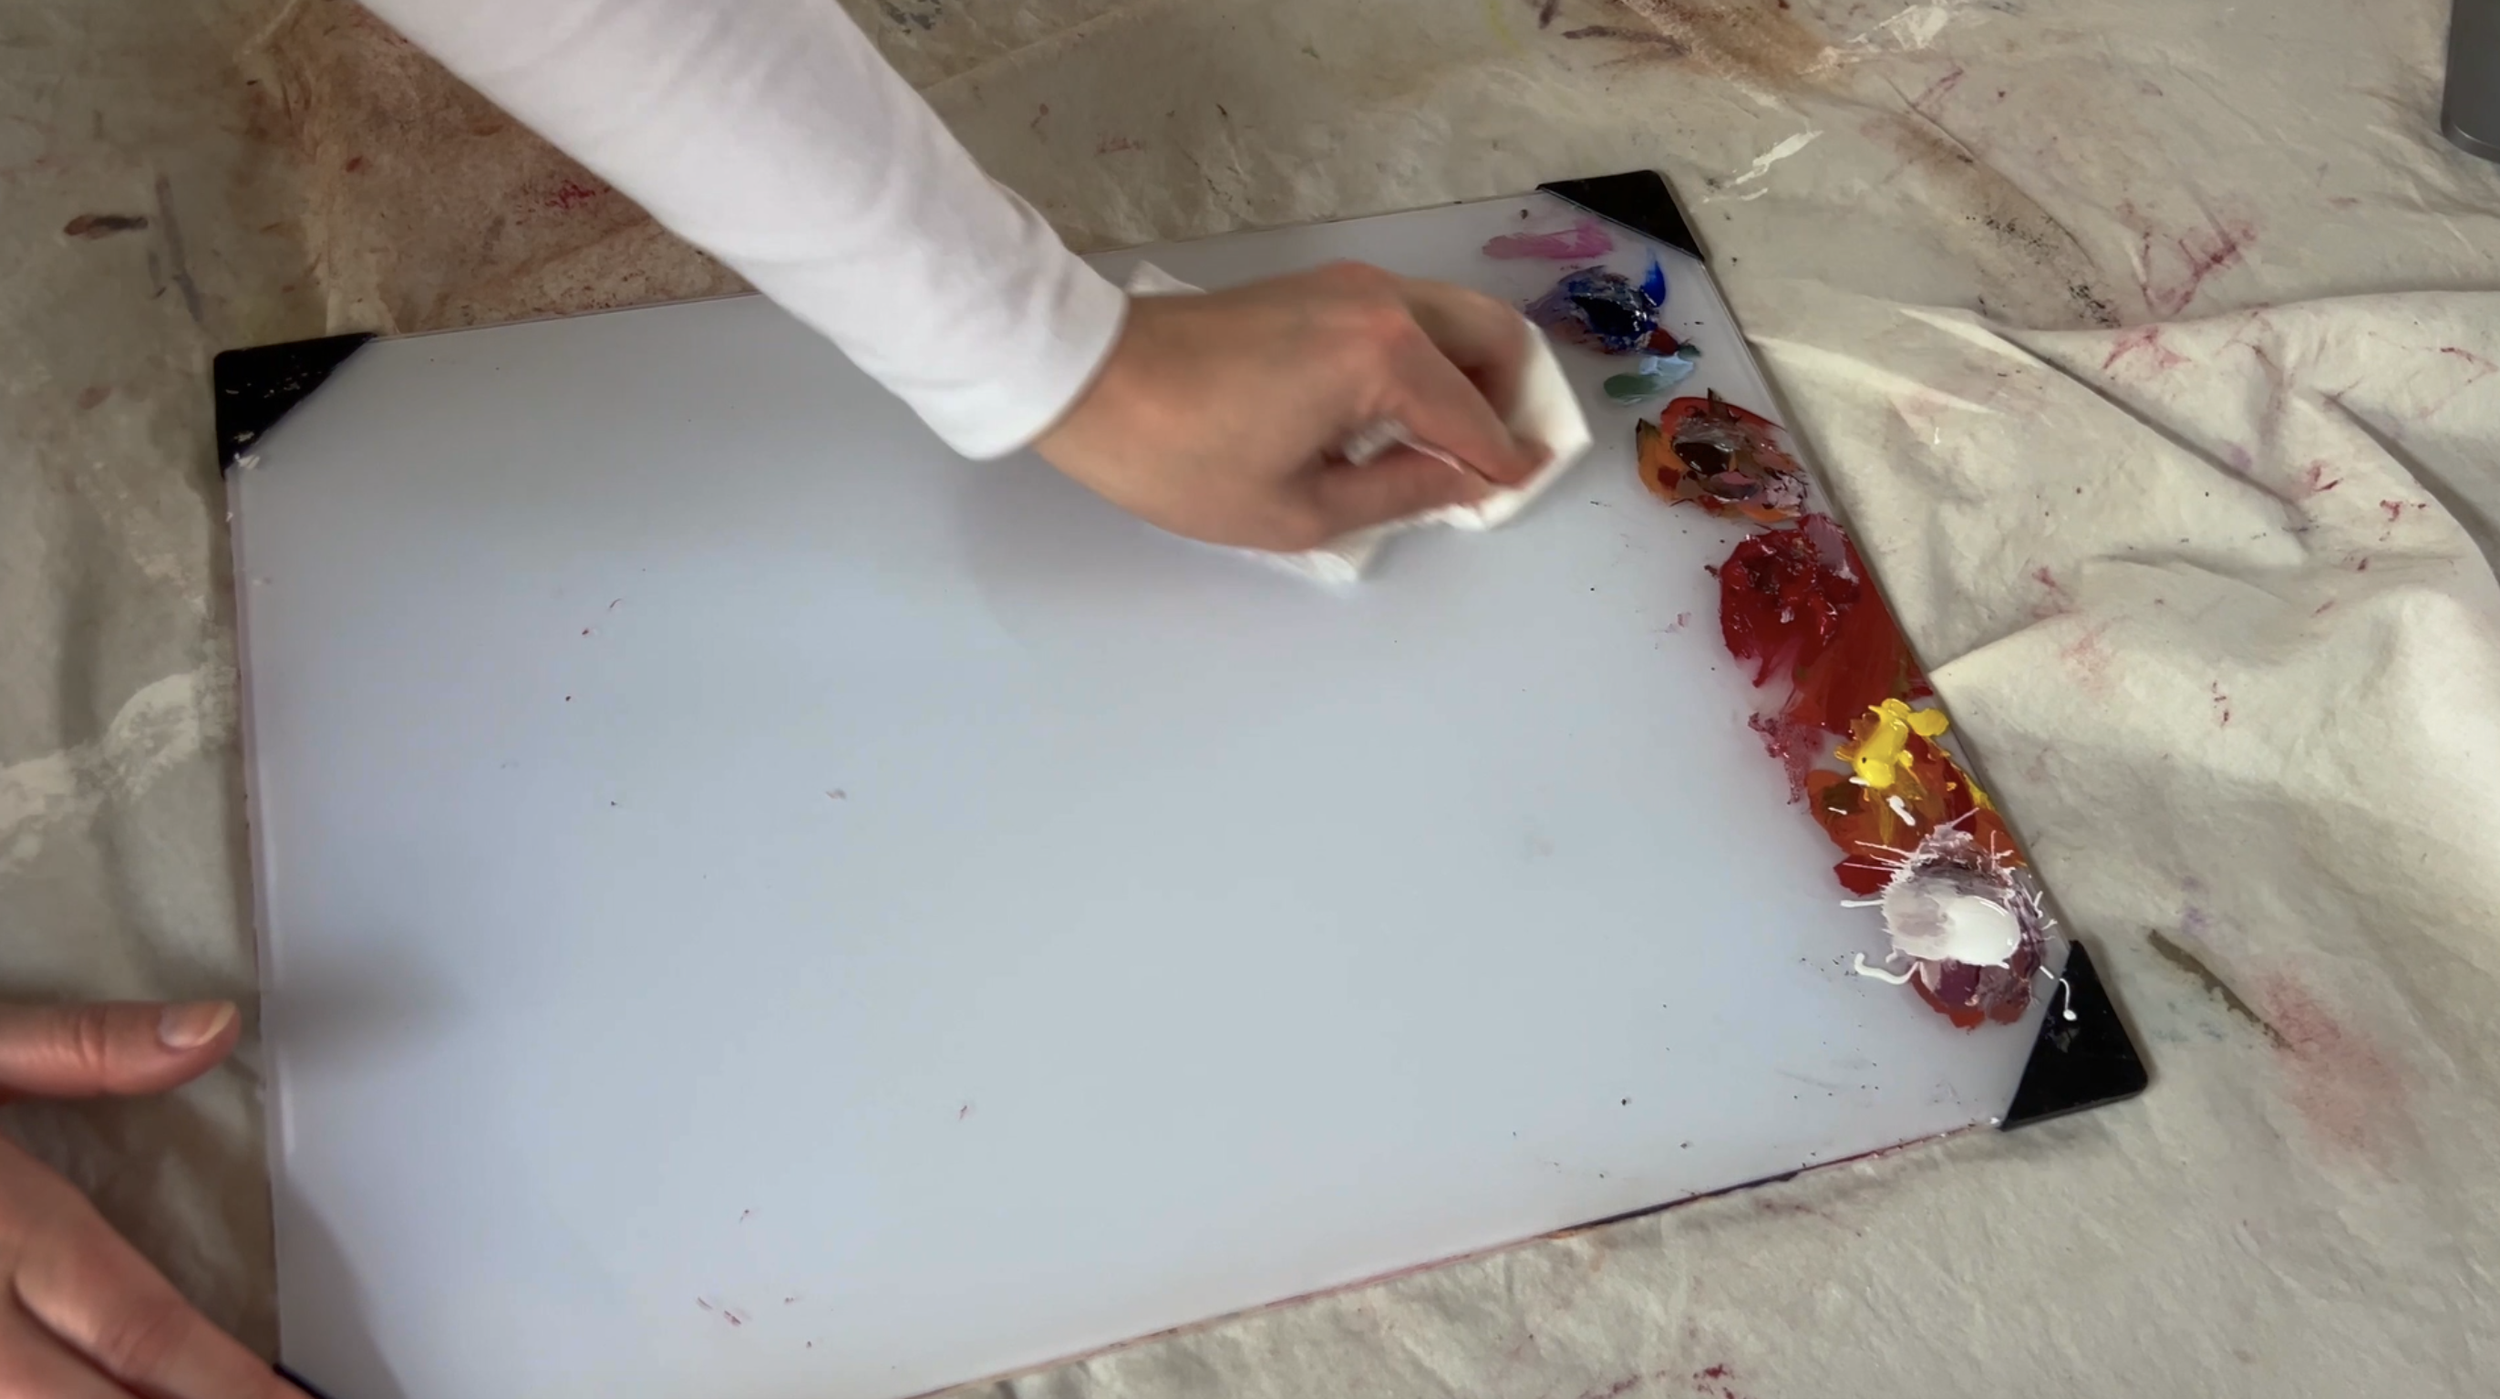
Your palette should now be completely clean and ready for your next painting session.
Building good cleaning habits will save you money, protect your brushes, and keep your paint colors fresh and vibrant every time you paint.
If you’re ready to protect and finish your painting, meet me in the next chapter where I’ll show you how to properly varnish your artwork.
Now that your brushes and palette are clean, your workspace is ready for your next painting session.
Next, we’ll go over how to finish and varnish your painting to protect it and give it a polished, professional look.
Help Keep This Course Free
This course is completely free because I believe learning art should be accessible to everyone.
If these lessons have helped you and you’d like to support the creation of more free tutorials like this, you can leave a donation below. Every contribution helps me continue making educational content and improving this course for future artists.
Thank you so much for being here and supporting my work! It truly means more than you know.